
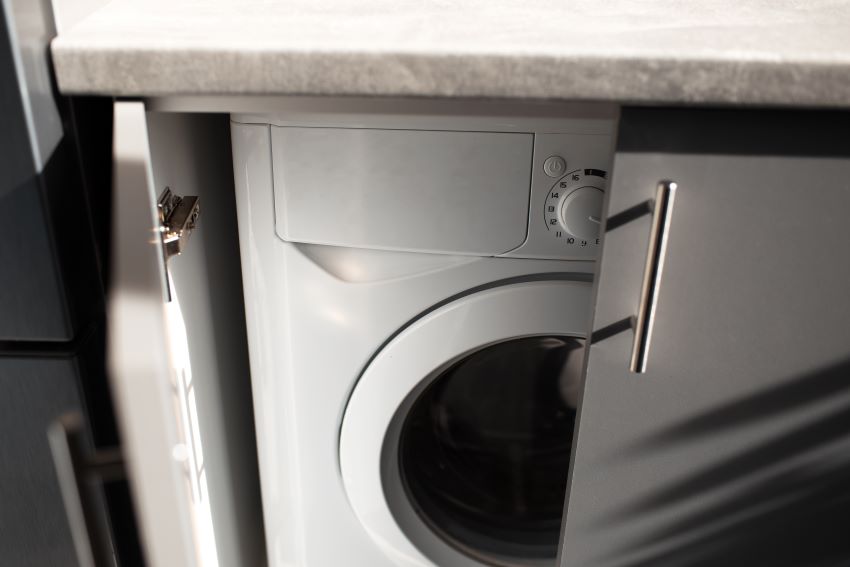
The washing machine is probably the appliance most likely to break during a poorly handled move. Its internal mechanism — the drum suspended on shock absorbers — is designed to absorb the vibrations of the spin cycle, but that same suspension is irreparably damaged if the machine travels without the transit bolts fitted. This guide explains how to prepare and transport a washing machine so it arrives intact at your new home.
The critical factor: transit bolts
All washing machines (with very few exceptions) leave the factory with 3 or 4 long bolts screwed into the back panel. Their purpose is to immobilise the inner drum during transport from the factory to your home. When a technician installs the machine, they remove and keep them — or you discard them, depending on the level of service.
Without those bolts in place, the drum swings freely during the move, strikes the casing and bends or breaks the shock absorbers and suspension. The result: the machine works but vibrates like a pneumatic drill on every spin cycle and, within a few months, fails for good.
What if you lost the original bolts?
Buy a universal transit bolt kit (5–15 €) from any appliance shop. You can also find them online by specific brand (Bosch, Siemens, LG, Samsung, Beko…). If you are in a hurry on moving day, there is an emergency alternative: fill the space between the drum and the casing with sponges or tightly rolled clothing. Not ideal, but it offers reasonable protection.
Step-by-step preparation
Day −1: drain hoses and disconnect
The night before, follow this protocol:
- Turn off the water supply valve to the washing machine
- Run a SHORT empty cycle (quick wash) to drain the internal hoses
- Once it finishes, unplug from the mains
- Unscrew the inlet hose (note: some residual water will come out — have a bucket or cloths ready)
- Remove the drain hose (this usually releases water too)
- Tilt the machine slightly backwards and allow the remaining residual water to drain out
Moving day: fit the transit bolts
Before moving the machine, screw the transit bolts into the rear holes (where plastic plugs were previously fitted). Tighten firmly but do not over-tighten (these are not wall bolts). If the original cardboard packaging is available, place the machine inside it.
Secure the cable and hoses
Coil the power cable and tape it to the back of the machine. The hoses (inlet and drain) go inside the drum for safekeeping so they cannot get lost. Close the door with packing tape (not too tight — just enough to stop it opening).
Transport: ALWAYS upright
The washing machine must be transported upright — NEVER on its side. Laying it down:
- Damages the shock absorbers even when the transit bolts are fitted
- Causes the internal concrete counterweight to shift
- Can allow motor oil to migrate to areas where it should not be
Like a fridge, an average washing machine (60×60×85 cm) weighs between 65 and 90 kg. You need 2 people and a sack truck to move it safely.
If there are stairs
Use an appliance sack truck and 2 operators. Descend slowly, one step at a time, keeping the machine balanced throughout. NEVER carry a washing machine on your shoulders down stairs: it is the leading cause of inguinal hernias among inexperienced removal workers.
Specifics of transport to the Canary Islands
In a shipping container
The washing machine is strapped upright to the container walls with lashing straps. Transit bolts are MANDATORY here: on a Cádiz-Tenerife crossing the ship rolls continuously, and without bolts the drum would be destroyed within hours.
Port humidity and the detergent drawer
The inside of the detergent and softener drawer can accumulate moisture in transit. Remove it before the journey, leave it to air-dry and place it in a separate zip-lock bag. Do the same with the lower filter (the one that catches fluff): empty it, dry it and pack it separately.
On arrival: installation protocol
Step 1: visual check
Before moving the machine to its final position, check that the cable, hoses, drawer and feet are all intact. If you notice any damage, photograph it and note it on the delivery note before signing.
Step 2: levelling
A poorly levelled washing machine will vibrate like an earthquake even if it is in perfect condition internally. Use a spirit level and adjust all 4 feet (turn clockwise to lower, anticlockwise to raise). Once the machine is perfectly level in both directions, tighten the locking nuts on the feet.
Step 3: REMOVE the transit bolts
Before plugging in and switching on the washing machine, remove the transit bolts you fitted for the journey. This is CRITICAL. If you run a wash with the bolts still in place, the machine will jump and break within minutes.
Cover the rear holes with the original plastic plugs (supplied in a small bag with the bolts) or with duct tape as a temporary measure. Store the bolts in a drawer labelled “Washing machine transit bolts” in case you move again in the future.
Step 4: connect the water and drain
Screw the inlet hose onto the tap and the machine using PTFE tape on the threads (a few cents from any hardware shop) to prevent leaks. The drain hose is placed in the trap or the bathroom bottle trap, securing it so it cannot come out under the vibration of the spin cycle.
Step 5: empty test cycle
Before loading any laundry, run an empty test cycle with detergent. This cleans out any dust residue from transport and lets you verify that:
- The machine fills with water correctly
- It spins without jumping (if it jumps, the bolts have not been removed or it is not level)
- It drains properly (no leaks at the trap)
- The programme completes without errors
Special cases
Integrated / built-in washing machines
Machines fitted inside a kitchen unit are the most complicated to move. Before moving, measure the space at the new destination to make sure it will fit. Handling requires removing the front panel of the unit as well.
Top-loading washing machines
Less common in Spain. Same protocol: transit bolts (usually 2 instead of 4), upright, drain the hoses, etc.
Tumble dryers
Simpler than washing machines because they have NO water. Even so, keep them upright and protect the drum. Heat-pump tumble dryers have a small reservoir that should be emptied before transport.
Is it worth transporting a washing machine to the Canary Islands?
Analysis:
- Transporting a washing machine in a shared move to the Canary Islands: ~80–150 €
- Equivalent new washing machine in the Canary Islands: 350–800 € (including IGIC at 9.5%)
- If your machine is under 5 years old and is Class A: transporting it is cost-effective
- If your machine is over 7 years old or Class B–C: buying a new, more efficient model is probably the better option
Claiming for damage
If your washing machine arrives broken, follow the same protocol as for any appliance: photograph it, note the damage on the delivery note, notify within 24 hours, keep the purchase receipt. The removal company’s public liability insurance covers transport damage provided it can be shown that the damage is not the result of pre-existing wear or a prior fault.
Do you need help with transport?
At Horizont Atlantic we pack and transport washing machines and other appliances following a certified protocol. If you would like to know how much it costs to include your washing machine, tumble dryer, dishwasher or fridge in your move to the Canary Islands, request a quote with your list of appliances and we will get back to you within 24–48 hours.
Frequently asked questions about transporting washing machines
What are transit bolts and why do they matter?
They are security bolts that fix the drum in place during transport so it cannot move. Without them, the drum vibrates and strikes the chassis during the journey, damaging the shock absorbers and internal mechanics. Each washing machine comes with 3–4 original bolts. If you have lost them: your brand’s service centre sells them, or use heavy-duty packing tape as a temporary substitute.
How do I drain the water before moving?
1) Unplug the machine and turn off the inlet tap. 2) Remove the filter from the front base (usually behind a small cover). 3) Collect the water that flows out using a low container. 4) Clean the fluff filter. 5) Refit the filter and cover. A 10–15-minute job that prevents spillages during transport and eliminates odours.
Can I lay the washing machine on its side in the van?
It is NOT recommended. The washing machine must be transported UPRIGHT so that the drum remains properly secured and residual water does not reach the electronic components. If it absolutely has to travel on its side (van fully loaded), leave it upright for at least 4–6 hours before plugging in and switching on.
How long does a washing machine need to settle after a move?
A minimum of 4–6 hours upright before first use, ideally 24 hours if it has been transported on its side. For the first wash: run a short cycle with a small load and warm water, check there are no leaks during the cycle, and verify that the spin works without excessive vibration. If it vibrates heavily, check the levelling of the feet or whether transit bolts have been left in.
What should I do with the hose and power cable?
Inlet hose: disconnect, drain of residual water, coil and place in a zip-lock bag attached to the machine itself. Drain hose: likewise drain, coil and secure. Power cable: coil and tie with a rubber band or tape. Keep everything with the washing machine during transport (not in general boxes where it can get lost). More about appliances: how to transport a fridge.